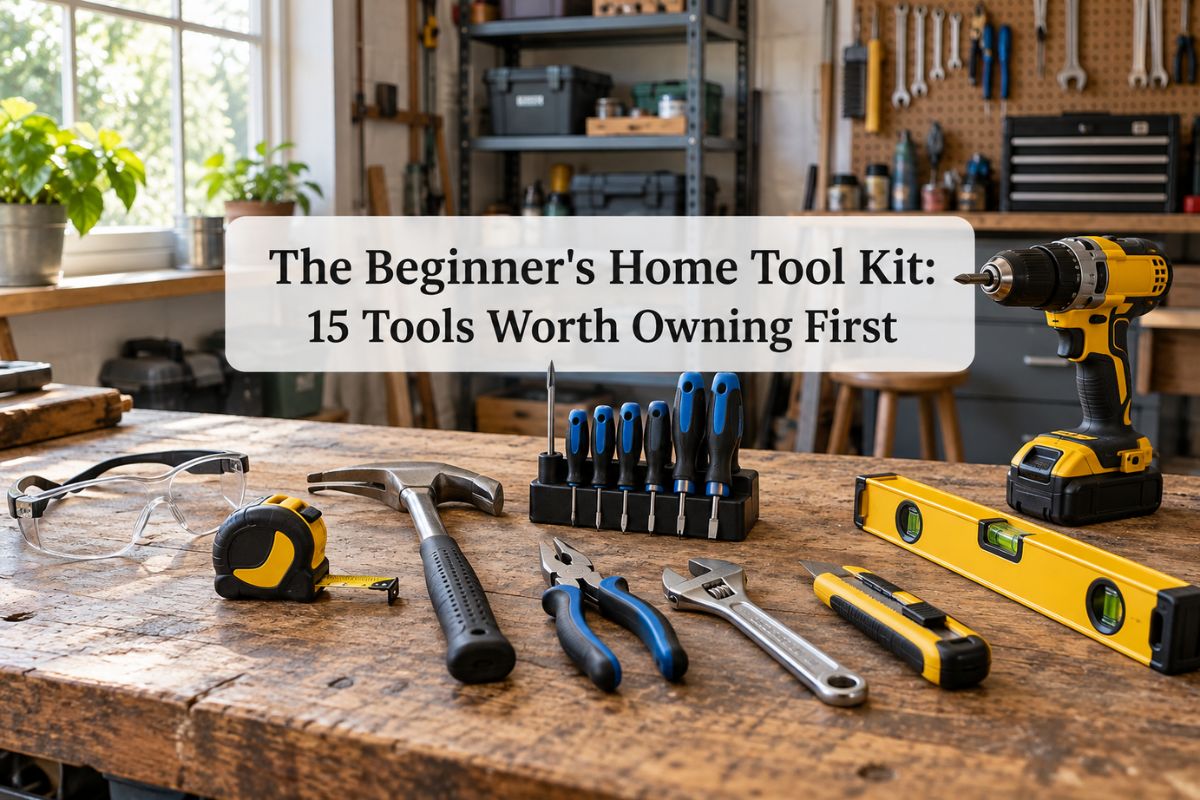

A home tool kit can be small and still handle most of the everyday jobs that come with owning a home, from hanging a picture to tightening a cabinet handle that keeps working loose.
Below you’ll find the 15 tools worth owning first, in a sensible order to buy them. The first nine are the day-one basics. The last six can wait until a project calls for them.
Should You Buy a Starter Kit or Single Tools?
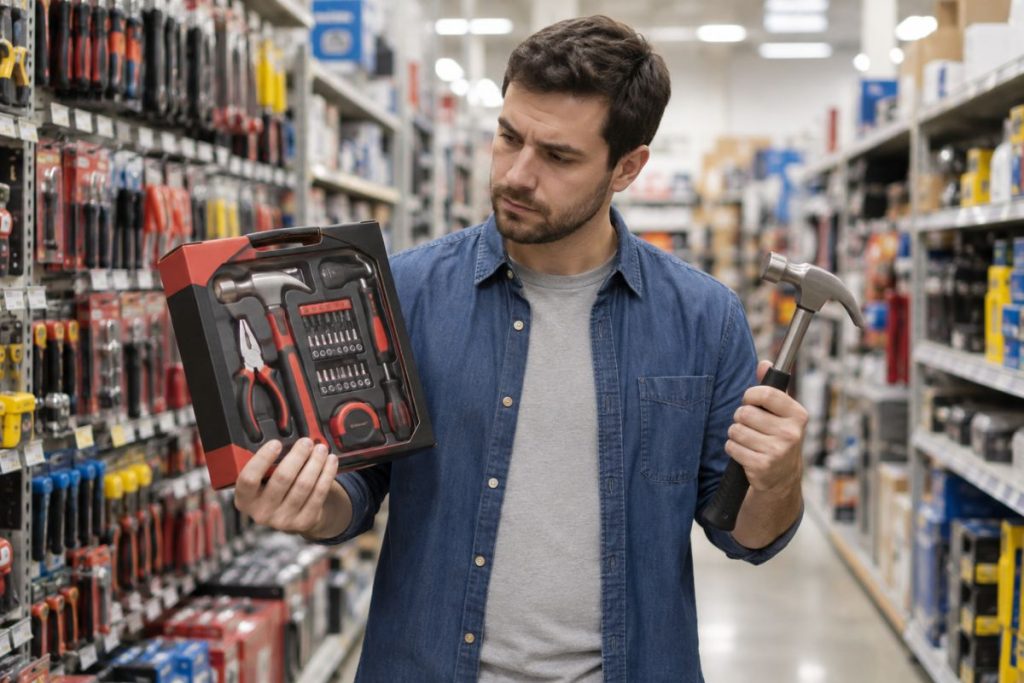
Either is fine, and you can mix the two. A boxed starter tool set gets you a hammer, a few screwdrivers, pliers, and a tape measure in one purchase, often with a carrying case.
The tradeoff is quality. Some kits pad the box with tiny bits you’ll rarely touch, and the tools you use most end up being the cheapest versions.
A good middle path is a small kit for the basics, then better single tools for the jobs you do every week. Prices vary by brand and store, so compare a few options locally. If a kit covers most of the first nine tools below, it’s a solid start.
1. Safety Glasses
Safety glasses come first because almost every tool on this list can send something flying. A nail can ping off a hammer, and a drill can throw dust toward your face.
OSHA’s eye protection rule points to the ANSI Z87.1 safety standard, and glasses that meet it carry a Z87 mark on the frame. A Z87+ mark means they’re rated for high impact. If you wear prescription glasses, look for a pair designed to fit over them.
Try It: Keep your safety glasses on top of your tools so you grab them first on every job.
2. Tape Measure
Nearly every project starts with a measurement. Choose a tape measure with a lock button, which holds the blade in place while you mark or read it.
You’ll use it for sizing curtain rods, planning furniture layouts, centering a shelf, and checking whether a rug fits before you buy it. Measure twice before you cut or drill.
Try It: Measure each window in one room and save the numbers in your phone for the next time you shop for blinds.
3. Claw Hammer
For nails, you want a claw hammer. Its flat face drives them in, and the curved claw on the back pulls them out. It’s the tool for hanging pictures and tapping a loose furniture joint back together.
Pick a mid-weight hammer with a comfortable grip, and wear safety glasses whenever you swing it. OSHA advises keeping all tools in good condition, so check now and then that the head is tight on the handle.
Try It: On a scrap board, tap a nail lightly to set it, then let go and finish with smooth swings from the elbow.
4. Screwdriver Set
Screwdrivers are among the tools you’ll reach for most. The two main tips are flathead, a single straight blade, and Phillips, a cross shape.
Get a few sizes of each. A multi-bit screwdriver, which stores swappable tips in the handle, saves space for small jobs.
Match the tip to the screw. A tip that’s too small can strip the screw, which means rounding out its slots until the screwdriver spins without turning it.
Try It: Tighten every loose cabinet hinge and drawer pull in your kitchen.
5. Pliers
Pliers grip things your fingers can’t. Start with slip-joint pliers for general gripping and needle-nose pliers, which have long, thin jaws for tight spots.
They’re good for bending picture-hanging wire and for holding a small nut steady while you turn the bolt. Use them for gripping only, since pliers used as a wrench tend to chew up nuts.
Try It: Use needle-nose pliers to straighten a kinked picture-hanging wire before you rehang a frame.
6. Adjustable Wrench
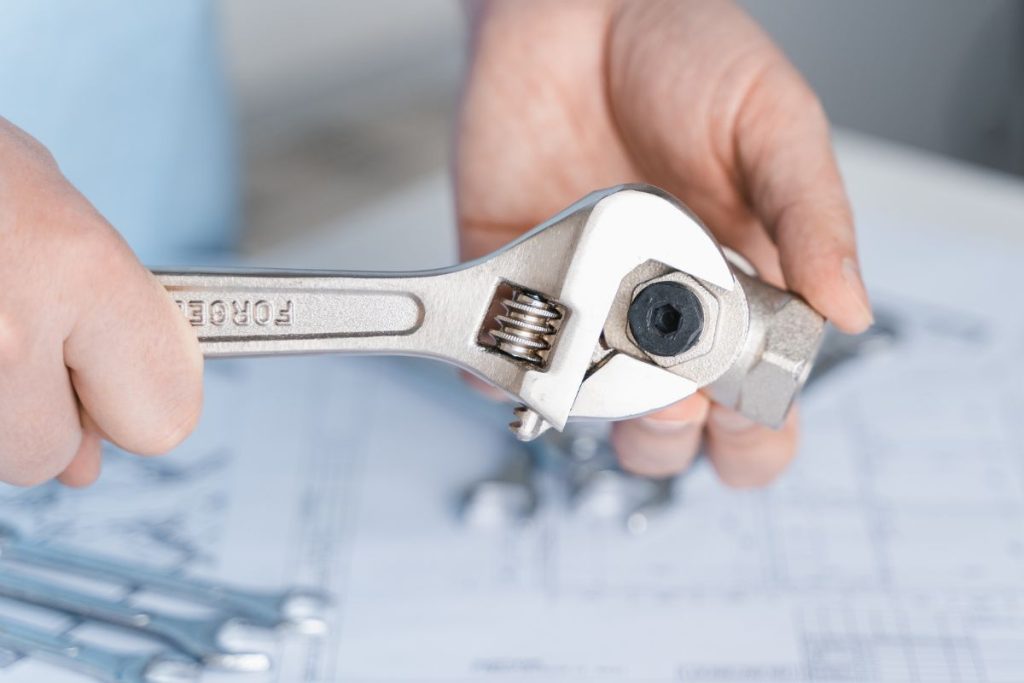
An adjustable wrench has a jaw that opens and closes with a thumb wheel, so one tool fits many nut and bolt sizes. Use it on a wobbly bed frame, a loose bike seat, patio chairs, or grill legs.
Tighten the jaw snug against the nut before you turn. A loose fit lets the wrench slip, which can round off the nut’s corners and scrape your knuckles.
Try It: Check the bolts on your bed frame and give each one a snug turn.
7. Utility Knife
A utility knife has a sharp blade that slides in and out of the handle. You’ll use it to open boxes, cut carpet tape, trim shelf liner, and score cardboard.
Good habits matter with this one. OSHA’s knife safety guidance says to cut in the direction away from the body and to keep fingers and thumbs out of the cutting line. OSHA also notes that dull blades tend to slip, so swap in a fresh blade when cuts start to drag. Retract the blade whenever you set it down, and if it falls, let it fall.
Try It: Break down a stack of shipping boxes, cutting away from your body on every pass.
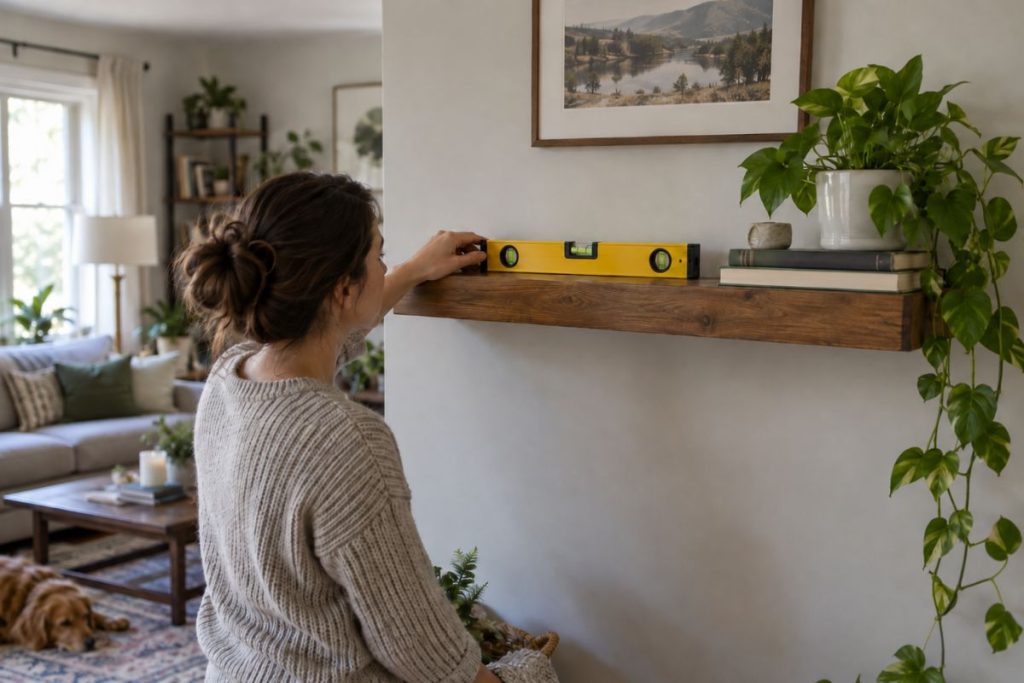
8. Level
Crooked shelves are easy to avoid with a level. It shows whether something is flat side to side, called level, or straight up and down, called plumb. When the bubble in the vial sits between the two lines, you’re there.
You’ll want it for shelves, picture frames, curtain rods, and wall hooks. A longer level suits shelves, and a small torpedo level fits in a drawer.
Try It: Check the pictures along one hallway and straighten any that lean.
9. Cordless Drill
A cordless drill makes holes and drives screws. Many are sold as a drill/driver, meaning one tool does both jobs when you swap the bit (the piece that does the drilling or turning).
Look for the clutch, the numbered ring near the front. It limits how hard the drill turns, so it stops before driving a screw too deep. Charge and store the battery the way the manual says.
Wear safety glasses while drilling. OSHA advises disconnecting power tools before changing bits, and for a cordless drill that means taking the battery out first.
Try It: Drive a few screws into scrap wood at different clutch settings and notice when the clutch starts to click.
That covers the day-one basics. The next six can wait until a project asks for them.
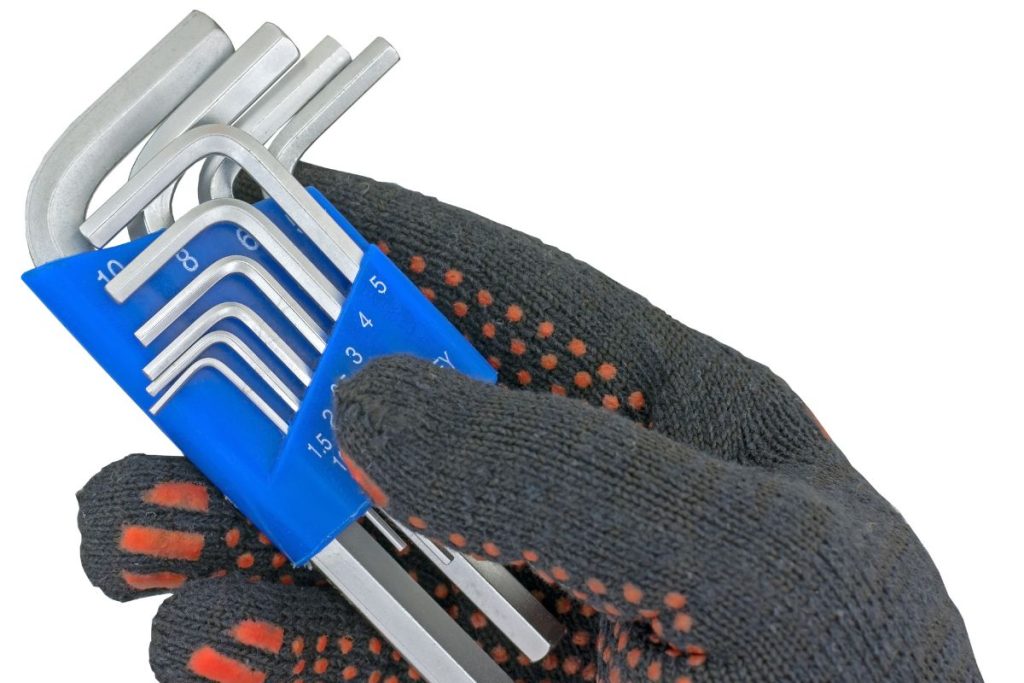
10. Hex Keys
Hex keys, also called Allen wrenches, are small L-shaped bars with six-sided ends. Flat-pack furniture usually comes with one, but a full set gives you every size and a better grip.
Sizes come in metric and inch, often labeled SAE, so get a set with both. Push the key all the way in before turning so it doesn’t round out the screw.
Try It: Retighten the screws on a wobbly bookcase or desk you already own.
11. Handsaw
A handsaw is a simple first tool for cutting wood and a natural start for beginner woodworking. Use it to trim a shelf board to length or cut a wooden dowel for a closet rod.
Clamp the board so it can’t shift mid-cut. OSHA’s advice for blades applies here too: keep your fingers and thumb out of the cutting line. Wear safety glasses, since sawing throws sawdust.
Try It: Draw a straight pencil line on scrap lumber and practice cutting along it with slow, full strokes.
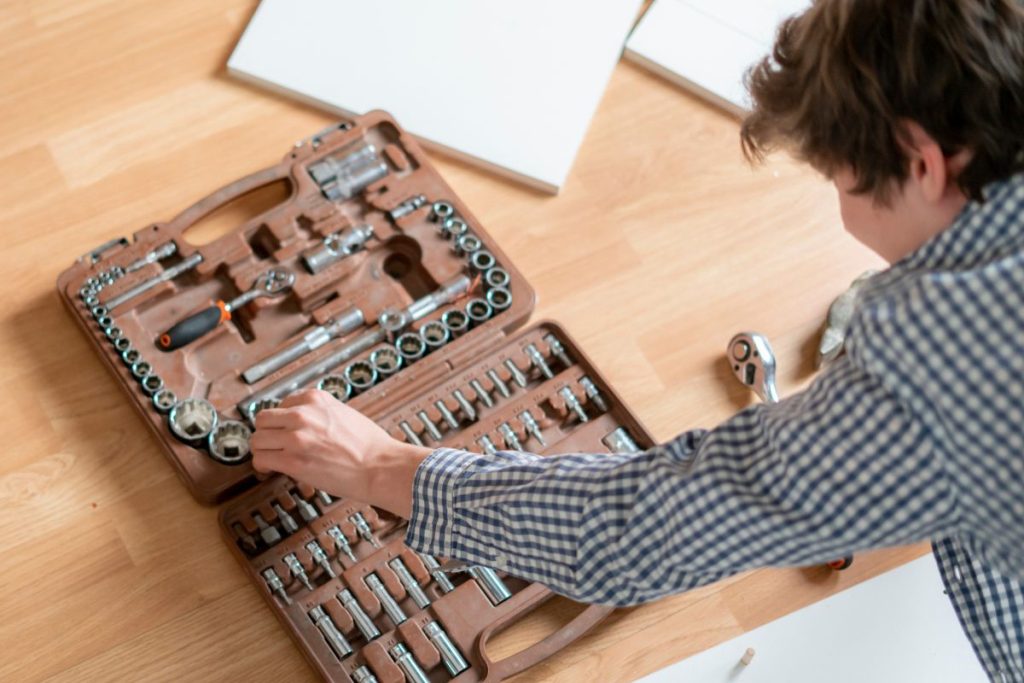
12. Socket Set
Got a job with a lot of bolts? That’s when a socket set earns its place. It pairs a ratchet handle with a row of sockets, the short metal cups that fit over bolt heads. The ratchet turns the bolt one way as you swing the handle back and forth.
It’s faster than an adjustable wrench for assembling things like a grill, a patio set, a garage storage rack, or a kid’s bike. A set with metric and inch sockets covers both.
Try It: Grab the socket set the next time you assemble something with bolts.
13. Chisel
Once you start working with wood, a chisel comes in handy. It’s a flat steel blade with a sharp edge for shaving wood. Beginners mostly use one to clean out a shallow notch, like the recess a door hinge sits in.
One mid-size wood chisel is enough to start. Clamp your work and push the blade away from your body, the same direction OSHA recommends for knives. Keep it sharp, since a dull edge is more likely to slip, and cover the blade in storage.
Try It: Practice shaving thin curls off a scrap board, pushing the chisel away from you.
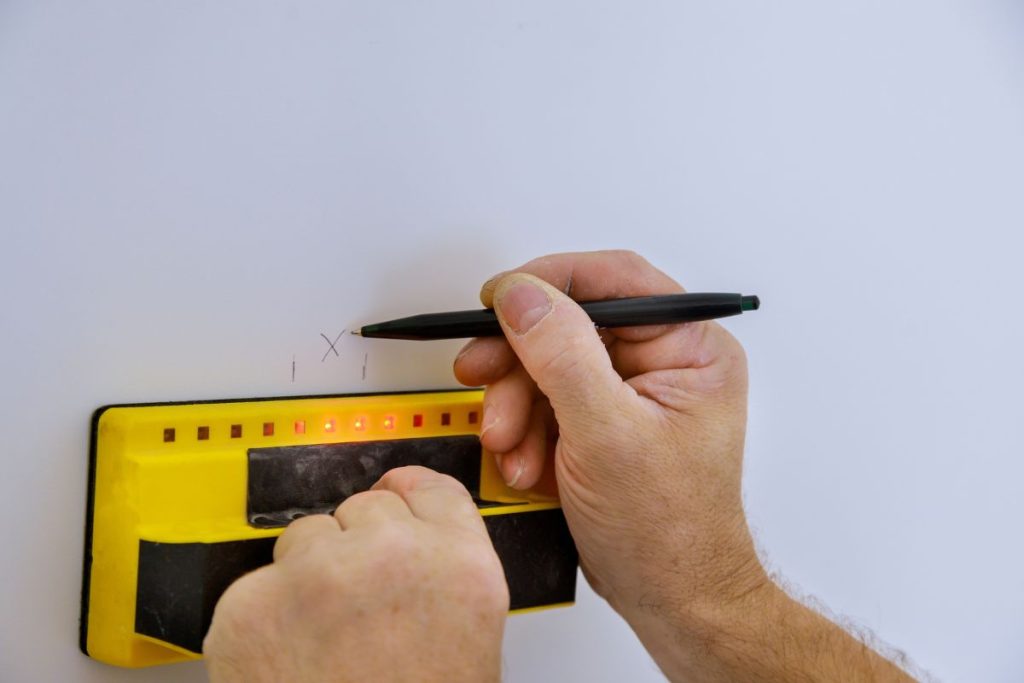
14. Stud Finder
Heavy items like a big mirror or a loaded shelf hold best when they’re screwed into a stud, one of the wooden beams inside your walls behind the drywall. A stud finder helps you locate them.
The International Residential Code allows wall studs spaced 16 or 24 inches apart, measured center to center. Once you find one stud, measuring over helps you find the next.
Follow the manufacturer’s instructions for calibrating it, and mark both edges of each stud. Wires and pipes run inside walls too, so if you’re unsure what’s behind a spot, stop and check before you drill.
Try It: Find the studs behind the spot where you want a shelf and mark each one with painter’s tape.
15. Flashlight
A good flashlight seems minor until you’re on your back under a sink. A headlamp is especially handy because it keeps both hands free.
You’ll use it behind the washer, inside dark cabinets, in a closet, and during power outages. Keep it charged or keep spare batteries nearby.
Try It: Put on a headlamp and check under your bathroom sink for signs of drips.
Supplies to Keep With Your Tools
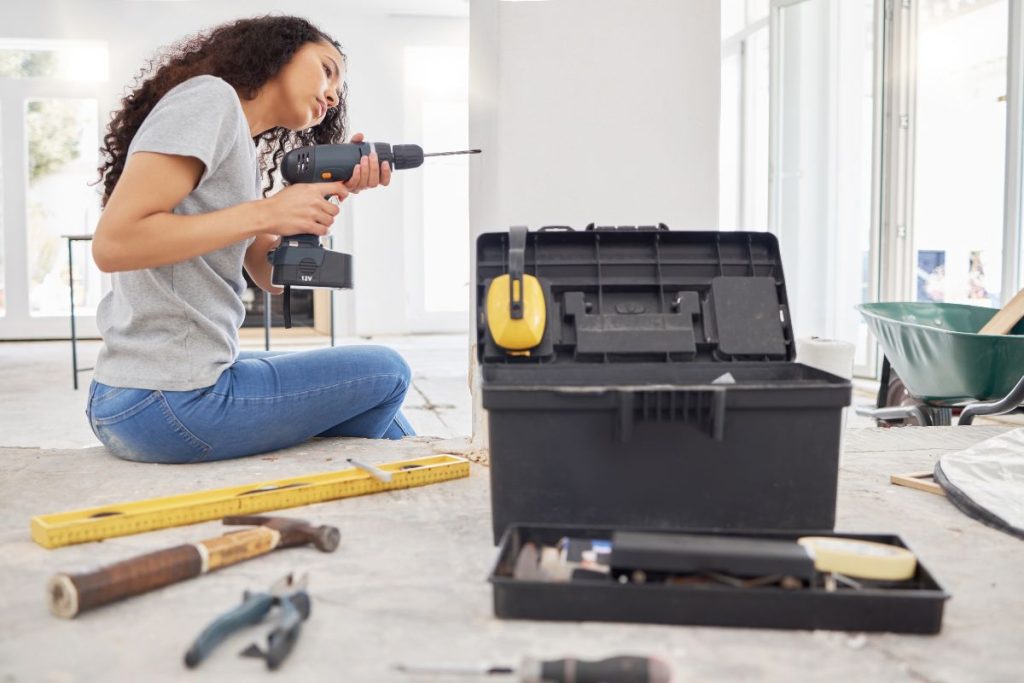
Your tools need a home and a few supplies. A toolbox with a removable tray keeps small items on top and bigger tools underneath, so you can see what you have.
Stock it with a mixed box of screws, small nails, picture hooks, and a few wall anchors. Wall anchors are plugs that grip the drywall when there’s no stud where you need to hang something. Check the package for the weight each anchor is rated to hold.
Add a pencil and a roll of painter’s tape, and most small jobs won’t need a trip to the store.
Building Your Home Tool Kit Over Time
Building a home tool kit works best as a slow, steady project. The day-one basics are enough for plenty of beginner DIY home improvement projects, like hanging shelves and assembling furniture, and you can add the other six as real jobs come up.
Want an easy way to keep track? Download the free Beginner Tool Kit Checklist and check off each tool as you buy it. It’s a simple way to build your home tool kit one useful purchase at a time.
Frequently Asked Questions
What tools should a beginner buy first?
Start with safety glasses, a tape measure, a claw hammer, a screwdriver set, pliers, an adjustable wrench, a utility knife, a level, and a cordless drill. Add the rest as projects call for them.
Is a pre-made starter tool kit worth buying?
It can be, if it covers most of the day-one basics. Check the quality of the tools you’ll use most, and upgrade those over time.
Do beginners need power tools?
A cordless drill is the one power tool worth owning early in a home tool kit. Most other beginner jobs only need hand tools.
What safety gear should I own first?
Safety glasses with a Z87 mark, which shows they meet the ANSI Z87.1 standard that OSHA’s eye protection rule references.
Where should I keep my tools?
Keep your home tool kit together in one toolbox with a tray for small parts. One spot makes it easy to find what you need and notice what’s missing.