

DIY home improvement can feel like a club with secret rules, especially if the most you’ve ever done is hang a picture with a thumbtack. The fact of the matter is nobody is born knowing how to use a drill or patch a wall. Everyone learns the same way, one small project at a time.
The trick is learning things in the right order. Start with safety and a short list of tools. Then pick up a few skills that show up in almost every project, and use them on easy wins around the house. Below you’ll find that order, step by step, plus a clear list of the jobs that belong to a licensed pro so you never end up in over your head.
What Counts as DIY Home Improvement?
Doing it yourself means any project you take on to fix up or upgrade your own home, from tightening a wobbly cabinet door to painting a bedroom. If you did the work and the house is better for it, that counts.
It helps to know the difference between a few words you’ll see a lot. Home repair keeps things working, like fixing a dripping faucet or patching a hole.
Home renovation refreshes a space that already exists with things like new paint, new flooring, fresh caulk, or new cabinet hardware.
Remodeling changes how a space is built or laid out, such as moving a wall or relocating a sink.
Beginners do best with repairs and cosmetic renovation. Those projects are forgiving and cheap to redo if something goes wrong. They also teach the skills you’ll use for years.
Remodeling usually involves structure or the plumbing and wiring hidden in your walls, so most of it is a job for licensed professionals. You can still plan the look yourself and save money by doing the painting and finishing work afterward.
Start With Safety Before You Pick Up a Tool
Safety comes first because DIY injuries tend to happen in a split second, like a slipped screwdriver or a chip of wood flying toward your eye. A few pieces of gear and some simple habits can keep you safe and prevent trips to the ER.
Gear to own before your first project:
- Safety glasses: wear them any time you drill, cut, sand, or work overhead.
- Hearing protection: foam earplugs or earmuffs for loud power tools.
- Work gloves: for handling rough lumber and yard debris (take them off when using a drill so they can’t get caught).
- Dust mask: for sanding drywall patches and cutting wood.
- Closed-toe shoes: dropped tools and boards hurt.
Habits that keep you safe:
- Read the instructions for every tool and product before you start, including drying times and ventilation warnings on the label.
- Unplug a power tool or remove its battery before you change a bit or blade.
- Keep your work area clear so you’re not tripping over cords and scraps.
- Set ladders on solid, level ground. Keep your hips between the side rails so you don’t lean out too far.
Electricity deserves its own rule. The Electrical Safety Foundation International recommends hiring a qualified, licensed electrician for electrical work in your home. For simple tasks like swapping a light bulb or a switch plate, ESFI says to turn off the power at the circuit breaker and then “test before you touch” with a voltage tester to make sure the power is really off.
If your home was built before 1978, be careful with old paint. According to the EPA, sanding, scraping, or drilling painted surfaces in homes built before 1978 can create lead dust and paint chips. Before you sand old trim or strip old furniture, test for lead with a kit from the hardware store or ask a certified pro.
The Starter Tool Kit You Need First
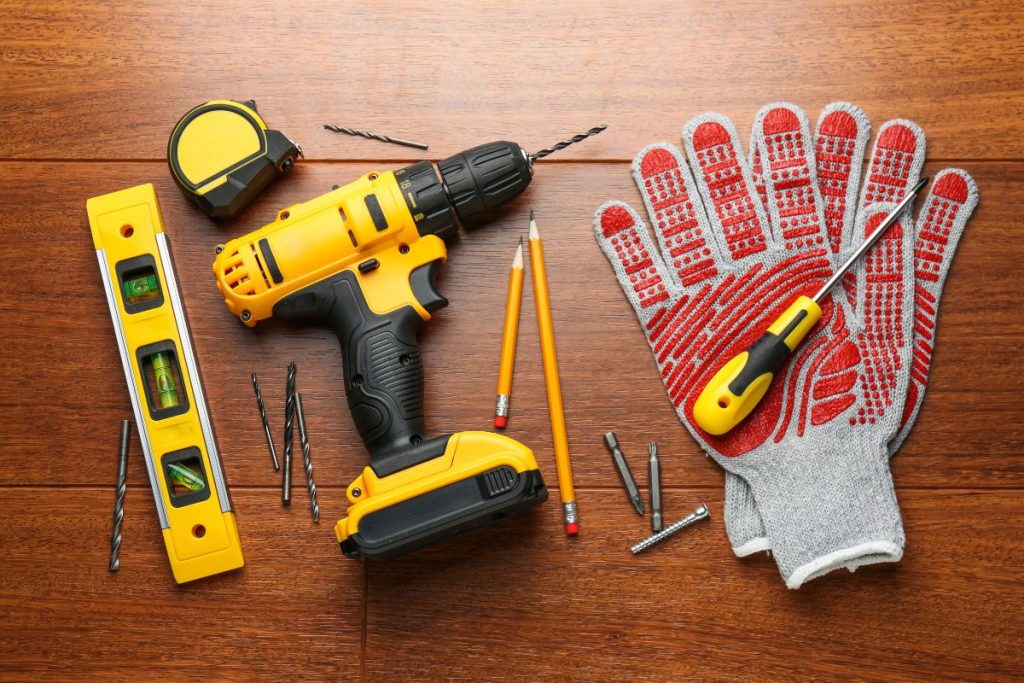
You don’t need a garage full of gear to get started. A small set of quality tools handles most beginner projects, and you can add more as each new project calls for it.
| Tool | What you’ll use it for |
|---|---|
| Tape measure (25 feet) | Measuring rooms and furniture before you buy anything |
| Claw hammer | Hanging pictures and pulling out old nails |
| Screwdriver set or multi-bit driver | Tightening loose hinges and swapping cabinet hardware |
| Cordless drill/driver with a bit set | Drilling holes and driving screws much faster than by hand |
| Level | Hanging shelves and pictures straight |
| Utility knife | Scoring drywall and cutting old caulk loose |
| Adjustable wrench and pliers | Tightening nuts and fittings on faucets and furniture |
| Stud finder | Locating the wood framing behind your walls |
| Putty knife | Spreading spackle and scraping loose paint |
| Caulk gun | Sealing gaps around tubs, sinks, windows, and trim |
A few buying tips:
- Skip the giant kits. Big boxed sets often include dozens of pieces you’ll never touch. Buy tools one at a time as your projects need them.
- Rent the big stuff. Tile saws and floor sanders are expensive to buy for a single weekend. Most home improvement stores rent them by the day.
- Hand tools first, power tools second. The one power tool almost every beginner uses constantly is a cordless drill/driver. Most others can wait.
Five Skills to Learn Before Anything Else
These five skills show up in almost every project on this site. Practice each one once on something low-stakes, and bigger projects will suddenly feel much more doable.
Measuring Accurately
Measure twice, and write it down. Most beginner mistakes start with a rushed measurement, like a shelf that’s half an inch too long or not enough paint for the last wall. Hook the tape firmly on the edge and keep it straight. Then read the small marks between inches carefully, since each one is a fraction of an inch.
Drilling and Driving Screws
A cordless drill/driver does two jobs. It drills holes with a drill bit, and it drives screws with a screwdriver bit. Start on a scrap piece of wood. Use a slow speed to start each hole and keep the drill straight, with steady, light pressure. The adjustable ring near the front (the clutch) stops the drill from driving a screw too deep, so start on a low number and raise it as needed.
Finding Studs
A stud is a vertical wooden board inside your wall that holds everything up. Anything heavy, like a big mirror or a TV mount, needs to screw into a stud or use the right wall anchor. Slide a stud finder slowly across the wall and mark the edges in pencil. In most homes, studs are evenly spaced, so once you find one, you can usually find the next by measuring over.
Patching Small Holes in Drywall
Drywall is the flat panel material most interior walls are made of. Nail holes and small dents are easy to fix: press a small amount of spackle into the hole with a putty knife, scrape it flat, let it dry, then sand lightly and touch up the paint. It’s the perfect first repair because it’s nearly impossible to mess up permanently.
Caulking
Caulk is a flexible sealant that fills gaps where two surfaces meet, like around a bathtub or along trim. Cut the tube tip small, hold the caulk gun at a steady angle, and move in one smooth line. Smooth the bead with a damp fingertip or a caulk tool. Your first bead won’t be perfect, and that’s fine; practice on a piece of cardboard first.
Easy First Projects, Room by Room
Once you’ve tried the basic skills, put them to work. Each of these projects uses tools from the starter kit and makes a difference you can see.
Living Room and Bedrooms
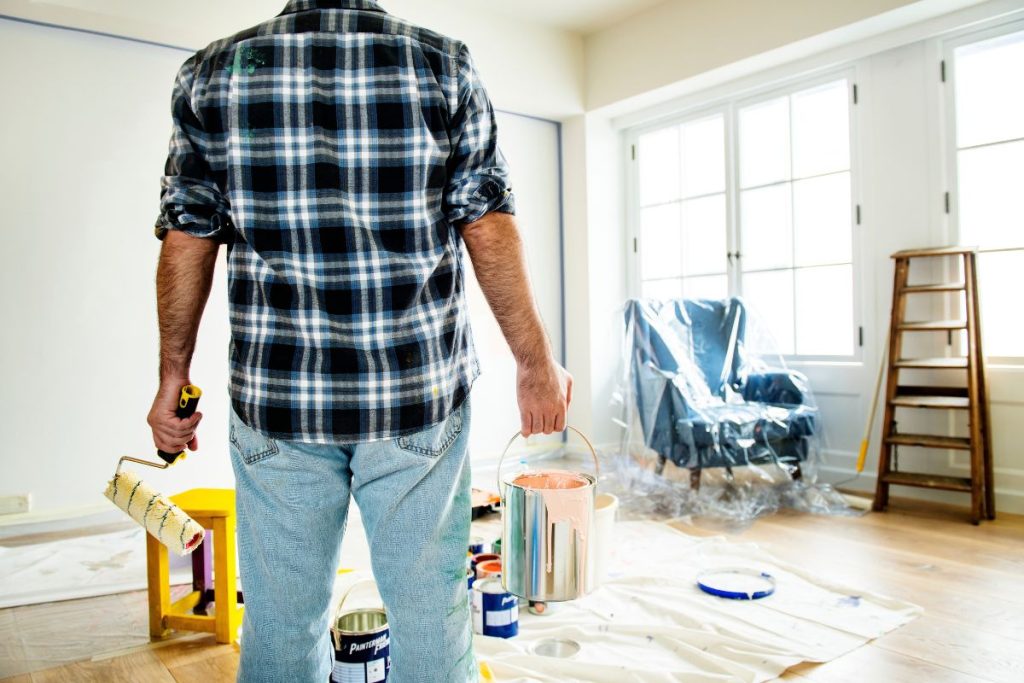
Paint a room. Painting is a popular first project for good reason. It’s affordable and forgiving, and it changes the whole feel of a room. Clean and patch the walls, prime any repairs with primer (a base coat that helps paint stick and cover evenly), then cut in the edges with a brush and roll the walls.
Hang shelves. Find the studs and use a level. You’ll end up with new storage and a real skill under your belt.
Kitchen
Swap the cabinet hardware. New knobs and pulls take an afternoon and a screwdriver. Measure the distance between the existing screw holes before you shop so the new pulls fit.
Try a peel-and-stick backsplash. These tiles stick right onto a clean, smooth wall and can make a dated kitchen look current without grout or a tile saw.
Bathroom
Recaulk the tub or shower. Pull out old, moldy caulk, clean the joint, and run a fresh bead. It looks better and keeps water out of the walls.
Replace the showerhead. Most showerheads unscrew by hand or with a wrench. Wrap the threads with plumber’s tape (a thin tape that helps seal threaded fittings) and screw the new one on.
Floors
Add an area rug. The right size rug can make a room feel finished, and there’s no install involved.
Lay peel-and-stick floor tiles in a small room. A laundry room or half bath is a great place to try it. Follow the manufacturer’s instructions for surface prep, since the floor usually needs to be clean and flat before anything sticks well.
Outside
Mulch your garden beds. Fresh mulch makes a yard look cared for and helps hold moisture in the soil.
Plant a small flower bed by the front door. It’s one of the quickest curb-appeal boosts there is. If you’ll dig deeper than a few inches anywhere in the yard, call 811 first. The free service arranges for underground utility lines to be marked. Most states require about two business days’ notice before you dig.
Simple Updates That Make a Room Feel New
Some of the biggest changes in a room come from simple design choices. These updates need little skill and almost no tools.
- Choose a color scheme. Pick one main color plus one or two accents. Repeat the accents around the room in pillows and art. Test paint samples on the wall and look at them in morning and evening light before you commit.
- Rethink the lighting. Most rooms rely on one overhead light. Adding a floor lamp and a table lamp makes the room warmer and more useful at night, with no wiring needed.
- Rearrange the furniture. Pull the sofa a few inches off the wall and leave a clear walking path through the room. It costs nothing and can make a room feel twice as comfortable.
- Update window treatments. New curtains hung higher and wider than the window make ceilings look taller and windows look bigger.
- Hang art without nails. Removable strips and picture ledges let you change things up without patching holes later.
When You’re Ready for Bigger Weekend Projects
After a few easy wins, you might want something you can really sink your teeth into. These projects take a full weekend but build on the same core skills.
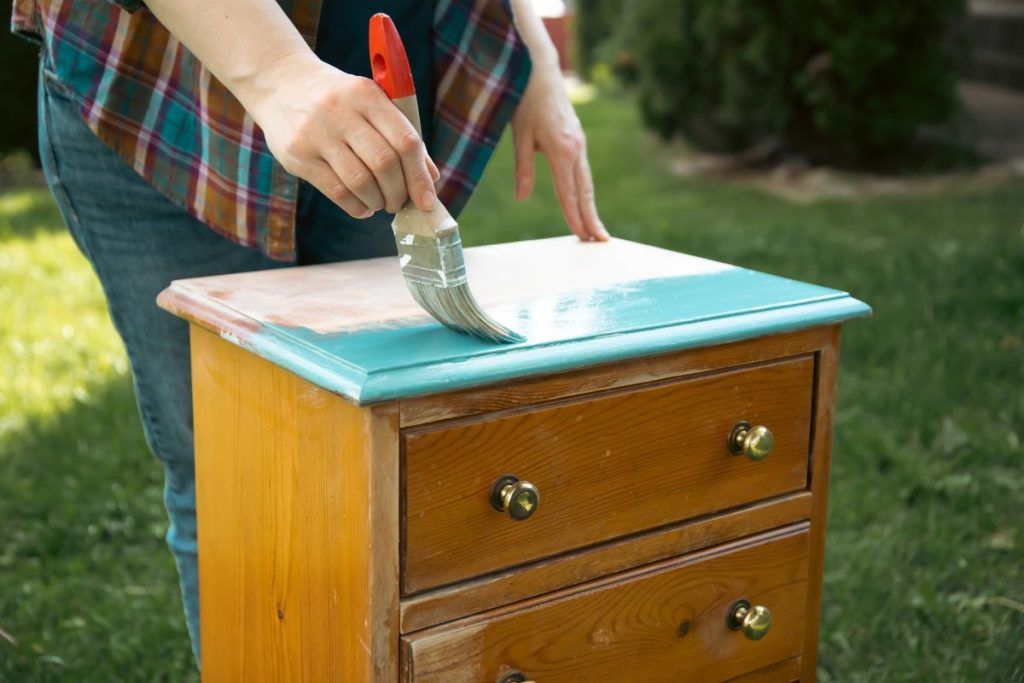
Restore or upcycle a piece of furniture. A secondhand dresser or side table can become something you love with a good cleaning, light sanding, primer, and paint. Upcycling means giving an old item a new purpose or look so it stays out of the trash. If a piece is old and you’re not sure about the finish, test for lead before sanding.
Reupholster a dining chair seat. Unscrew the seat, wrap it in new fabric, staple it underneath, and screw it back on. It’s satisfying and very forgiving.
Build something simple from wood. A floating shelf or a raised garden bed is a great first woodworking project. You’ll practice measuring and driving screws on a project with straight lines and room for small mistakes. Have the store cut your boards to length if you don’t own a saw yet; many stores will make basic cuts for you.
Try real tile on a small backsplash. Once peel-and-stick feels easy, a small tiled area teaches you how tile adhesive and grout (the filler between tiles) work together. Rent a tile cutter or saw for the day.
How to Plan Your First Project
A little planning keeps a weekend project from turning into a month-long mess. Before you start, walk through these steps:
- Define the job in one sentence. “Paint the guest bedroom walls” is clear. “Fix up the guest room” isn’t.
- Check whether it needs a permit. Cosmetic projects like painting usually don’t, but electrical, plumbing, and structural work often do. Call your local building department if you’re not sure.
- List every tool and material. Walk through each step in your head and write down what it needs, including small items like painter’s tape and drop cloths.
- Set a budget with a cushion. Price everything before you shop, then add extra for surprises, like a second gallon of paint or a forgotten tool.
- Plan your time generously. Projects almost always take longer than you think, especially the first time. Start early in the day, while stores are still open for a second supply run.
- Decide what “done” looks like. Knowing when to stop helps you finish instead of letting one project grow into five.

DIY on a Budget: Where to Save and Where to Spend
Budget-friendly projects are where DIY really shines, but some corners are worth cutting and some aren’t.
Where to save:
- Rent tools you’ll use once instead of buying them.
- Shop secondhand for furniture and lamps you can refresh.
- Focus on low-cost updates with a big payoff, like paint and new hardware.
- Do the prep and cleanup yourself, even on jobs you hire out.
Where to spend:
- Safety gear, always.
- Good paint and brushes. Cheap paint often needs extra coats, so it can end up costing more time and money.
- Anything that keeps water out, like quality caulk and sealants in kitchens and bathrooms.
- A reliable cordless drill/driver, since you’ll use it on nearly every project.
Jobs to Leave to a Pro
Knowing your limits is one of the most important DIY skills. These jobs carry real risks of fire, flooding, injury, or structural damage, and many require permits and licensed professionals:
- Electrical panel work and new wiring. ESFI recommends a licensed electrician for electrical work in your home.
- Anything involving gas lines or gas appliances. If you smell gas, leave the house and call your gas company from outside.
- Moving plumbing lines or working on main water and sewer lines.
- Roof work. Inspect from the ground with binoculars, and call a roofer for repairs.
- Removing or changing walls. A load-bearing wall holds up part of your house, and it’s not always obvious which walls do.
- Removing materials that may contain asbestos or lead paint, especially in older homes.
There’s no shame in calling a pro. Many homeowners do the planning, demolition cleanup, painting, and finishing work themselves and hire out the risky middle part. That’s still DIY home improvement, and it’s a smart way to save money safely.
Your Next Step in DIY Home Improvement
The best first project is a small one you’ll actually finish. Pick something from the easy projects list and give yourself a full afternoon, with your safety gear and a few basic tools close by. Patching a wall or swapping some cabinet pulls is a great place to start. Each finished project teaches you something the next one will use.
Want a head start? Grab the free First DIY Projects Starter Guide. It walks you through beginner-friendly projects with simple supply lists, so you know exactly where to begin. Sign up below and it’ll land in your inbox right away.
Every confident DIYer started exactly where you are now, wondering which end of the drill goes on the wall. Learn the basics in order and call a pro when a job calls for one. Before long, DIY home improvement will feel like a skill you own.
Frequently Asked Questions
What is the easiest DIY home improvement project for a beginner?
Patching small drywall holes or painting a room are two of the easiest places to start. Both need only a few tools and are easy to redo if something goes wrong.
What tools do I need to start DIY?
Start with a tape measure, a hammer, a screwdriver set, a cordless drill/driver, a level, and a utility knife. Add other tools as your projects call for them.
Do I need a permit for DIY projects?
Cosmetic projects like painting usually don’t need a permit, but electrical, plumbing, and structural work often does. Check with your local building department before you start.
Is DIY home improvement cheaper than hiring a pro?
For small repairs and cosmetic updates, DIY home improvement usually saves money on labor. For complex or risky work, hiring a licensed pro is often cheaper in the long run than fixing a mistake.
How do I know if a wall is safe to drill into?
Use a stud finder to locate studs and avoid drilling directly above or below outlets and switches, where wires often run. If you’re unsure, use a stud finder with wire detection or ask an electrician.
What should I learn first as a DIY beginner?
Learn basic safety habits first, then practice measuring, drilling, finding studs, patching drywall, and caulking. Those skills come up in almost every DIY home improvement project.